You've Accepted an Offer:
A Real Estate Photographer's
Moving Essentials Guide
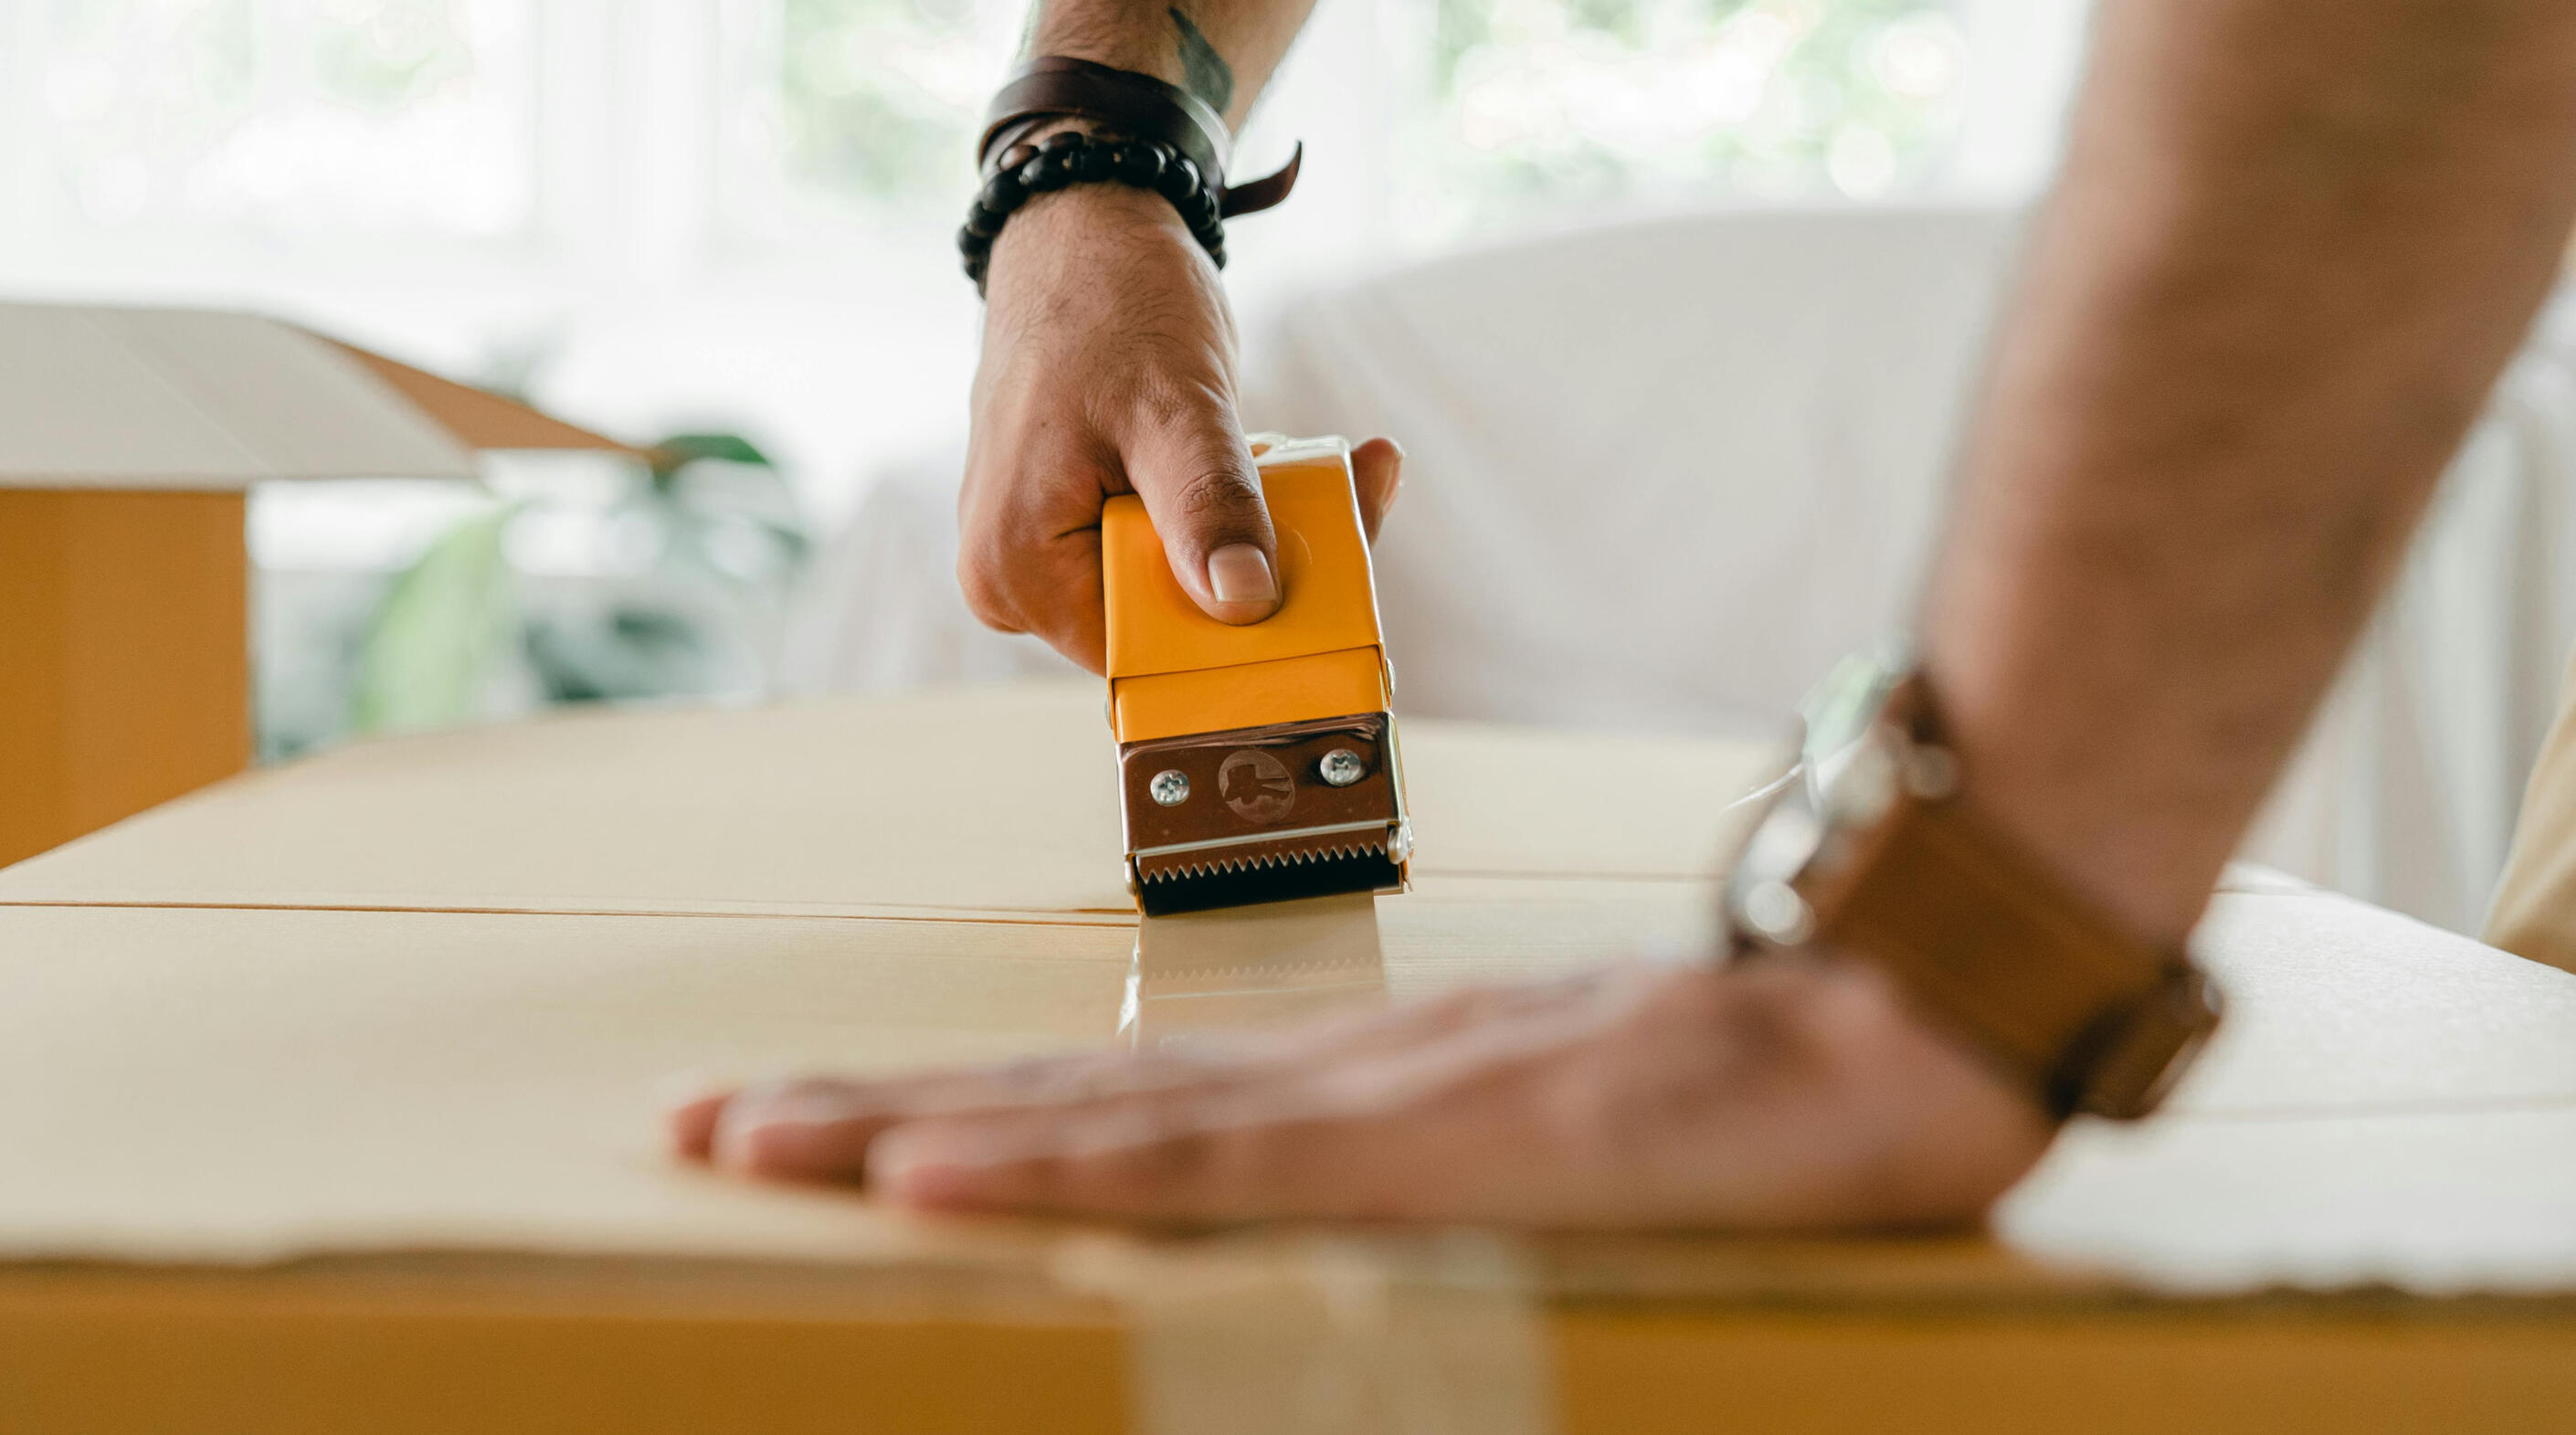
Once your home sells, the real work begins. An organized moving checklist keeps the process manageable and makes sure nothing gets overlooked between closing day and move-out — and the products that make each one easier.
As an Amazon Associate, I earn from qualifying purchases. Some links on this page are affiliate links — if you purchase through them, I may earn a small commission at no extra cost to you. This helps support the creation of free home-preparation resources for sellers.
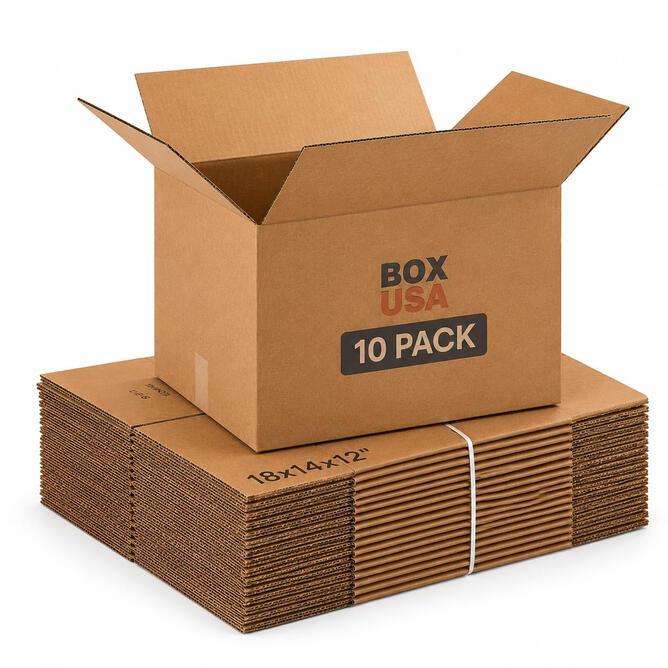
Step 1 — Get the Right Boxes Before You Need Them
Running out of boxes mid-pack is one of the most common moving mistakes. A variety pack in multiple sizes covers everything from books to bedding.Why it matters: Packing in the wrong size box costs time and increases the chance of damage. Books in large boxes get too heavy. Fragile items in oversized boxes shift and break.
Step 2 — Use a Proper Tape Dispenser
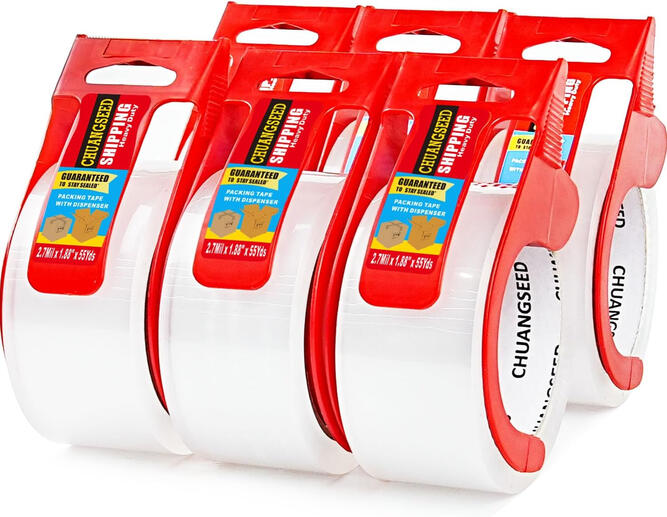
Taping boxes by hand with regular tape tears unevenly and rarely seals as tight as it needs to. This 6-pack comes with the dispenser built into each roll, so there's no fumbling with a separate holder — grab one, tape the box, move to the next.Why it matters: A box that opens mid-move is a damaged item. At 2.7mil thickness, this tape holds under real weight instead of splitting at the seams — and with six rolls on hand, you're not stopping mid-pack to hunt down more tape.
Step 3 — Wrap Breakables in Unprinted Packing Paper
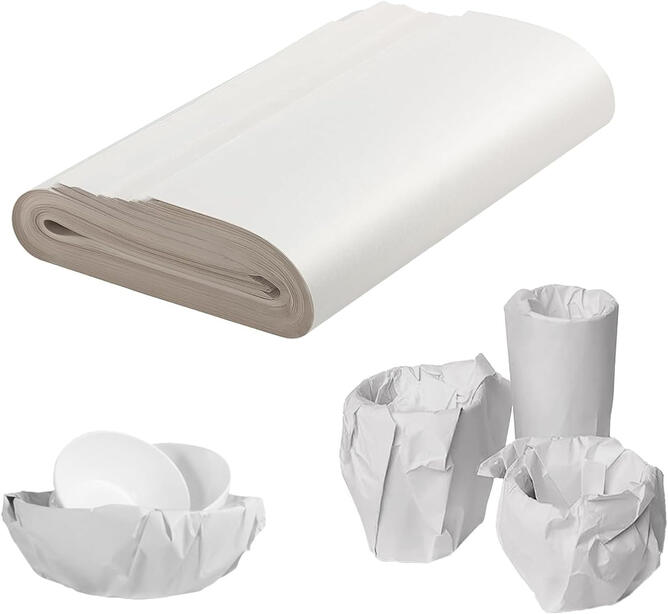
Newspaper leaves ink on everything it touches. Packing paper wraps dishes, glasses, and fragile items quickly, cleanly, without ink marks.Why it matters: The goal of packing is to arrive at the new home with everything intact and clean. Packing paper achieves that faster and more economically than any other wrapping material.
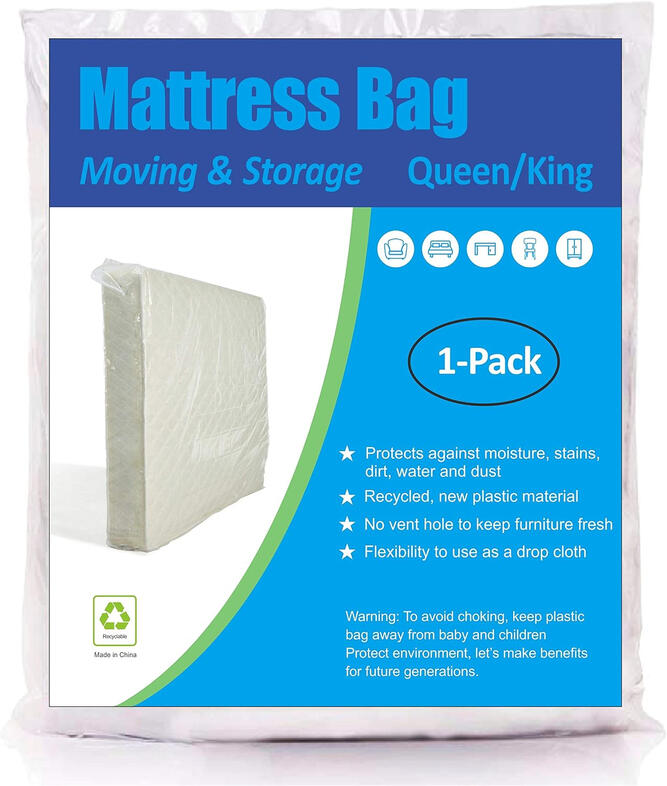
Step 4 — Bag Every Mattress Before It Moves
A mattress that gets dirty, wet, or torn during a move cannot be cleaned effectively. Mattresses touch floors, truck beds, and surfaces during moves that shouldn't touch your bedding.Why it matters: Mattresses are one of the most expensive items in a home and one of the most exposed during a move. A mattress bag costs under $20 and protects an item that costs hundreds to replace.
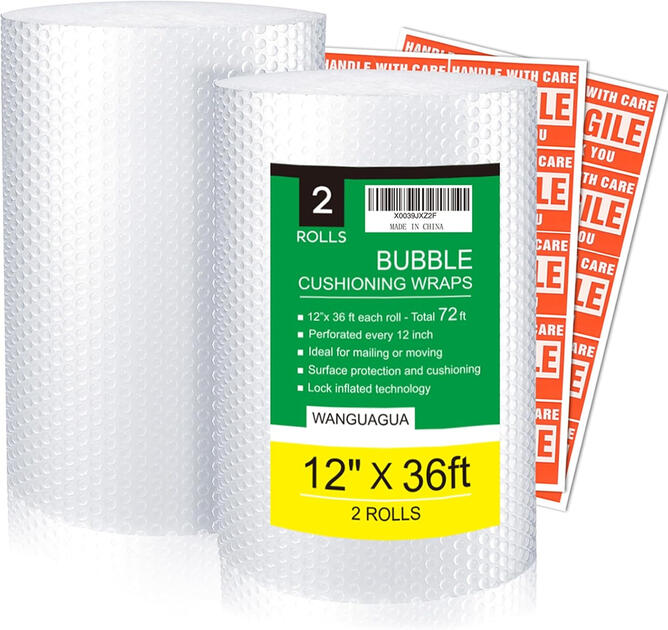
Step 5 — Use Bubble Wrap for Fragile Items
Some items are too fragile for packing paper alone — dishes with delicate patterns, glassware with stems, electronics, and artwork.Why it matters: The cost of replacing a broken item is almost always more than the cost of the bubble wrap that would have protected it. For anything irreplaceable, this isn't optional.
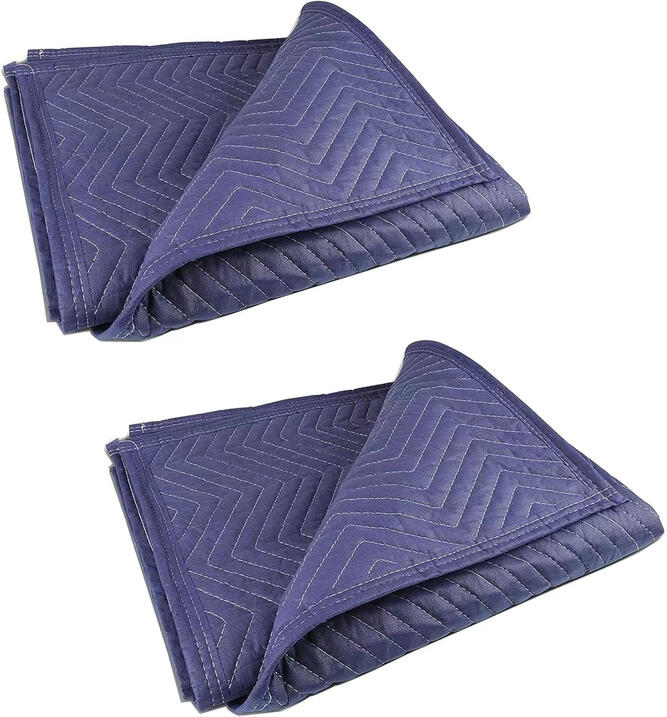
Step 6 — Protect Furniture With Moving Blankets
Furniture scratches happen when pieces rub against each other, doorframes, or the truck wall during transit. Moving blankets prevent all of that.Why it matters: A scratch on a piece of furniture during a move is a permanent reminder of the move. A scratch on a hardwood floor in the new home is a repair bill before you've unpacked.
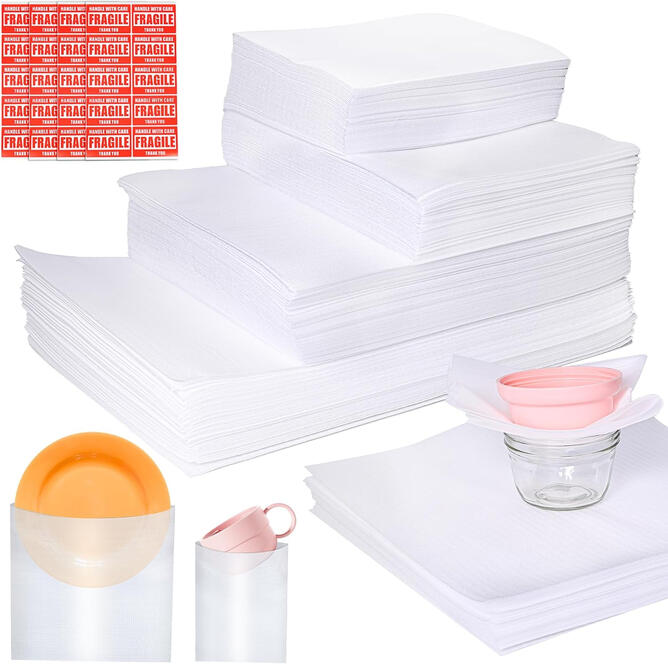
Step 7 — Use Foam Pouches for Fast Dish Packing
Reusable foam pouches slip over dishes, glasses, and fragile items without tape, scissors, or wrapping — dramatically faster than traditional packing methods.Why it matters: Packing a kitchen is the most time-consuming part of any move. Foam pouches cut that time significantly because there's no cutting, folding, or taping — just slip and stack.
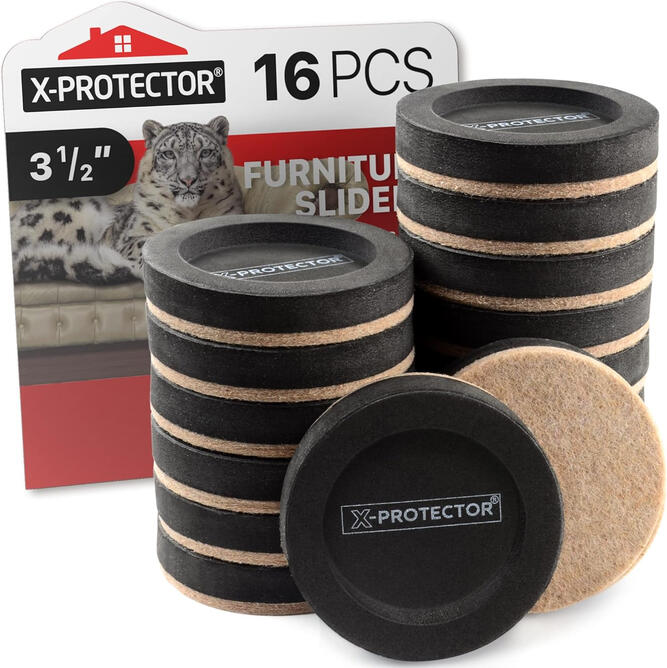
Step 8 — Use Furniture Sliders to Protect Floors
Moving heavy furniture across hardwood, tile, or LVP floors without sliders almost always results in scratches — either in the home being sold or the home being moved into.Why it matters: Scratches on floors in the home you're selling create issues during final walkthrough. Scratches in the new home mean repair costs before you're settled. Sliders prevent both for under $15.
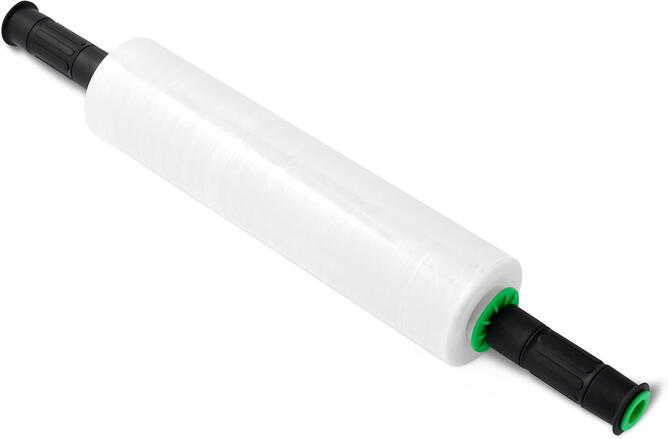
Step 9 — Wrap Furniture and Drawers With Stretch Wrap
Stretch wrap keeps drawers closed, cabinet doors shut, and appliance doors sealed during the move — without tape that leaves adhesive residue on furniture surfaces.Why it matters: A drawer that opens in a moving truck becomes a liability for everything in that truck. Stretch wrap prevents it in seconds and removes cleanly without damage to any surface.
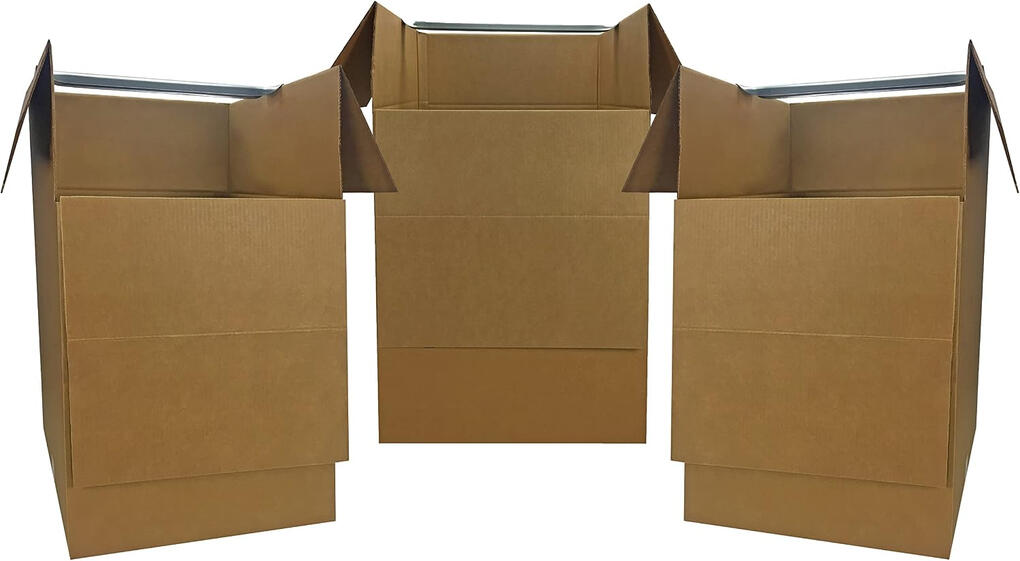
Step 10 — Move Hanging Clothes in Wardrobe Boxes
Folding and packing hanging clothes is one of the most time-consuming parts of moving — and results in wrinkled clothing. Wardrobe boxes let hanging clothes move directly from closet to box.Why it matters: Clothes that travel in wardrobe boxes arrive ready to hang. Clothes that travel folded in regular boxes need to be re-hung, re-organized, and often washed. The boxes pay for themselves in time saved.
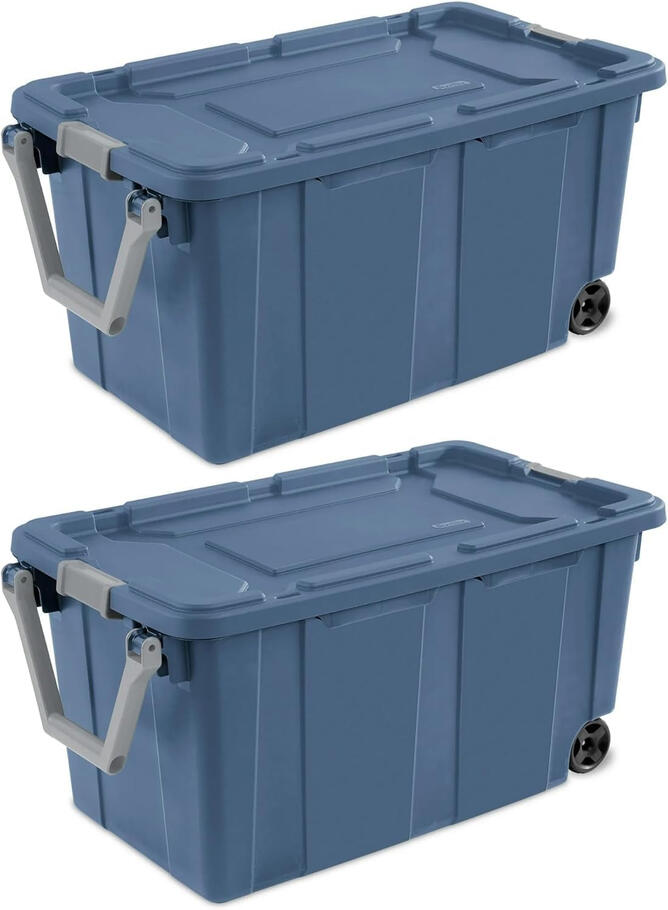
Step 11 — Use Wheeled Storage Bins for Room-by-Room Moving
Portable storage bins on wheels let you move belongings room by room without carrying heavy boxes — particularly useful for staging areas during the listing period.Why it matters: Carrying heavy boxes is where most moving injuries happen and where most items get dropped. Wheeled bins eliminate both risks and make the process faster with less physical strain.
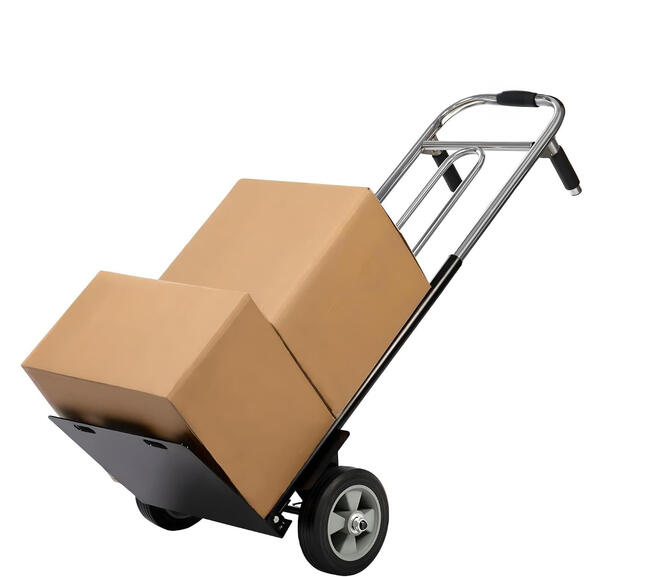
Step 12 — Get a Hand Truck for Appliances and Heavy Boxes
A heavy duty hand truck makes moving appliances, stacked boxes, and heavy furniture possible without professional movers — and protects floors from dragging and sliding.Why it matters: Most moving injuries involve heavy items being carried by people who shouldn't carry them alone. A hand truck removes that risk and makes one-person moving of heavy items safe and fast.
You May Also Like
• Deep Cleaning Before Moving Out
• How to Make Your Home Smell Good
• First Week in Your New Home Checklist